
As an Amazon Associate, I earn from qualifying purchases. Please read my Full Affiliates Disclosure here.
This is a DIY guide on how to paint your kitchen cabinets. Painting your kitchen is an inexpensive way to brighten and change the look of your kitchen space.

When we bought our house last year, we had brown kitchen cabinets with no handles. Painting the kitchen cabinets was a project I had planned on doing within the first few months after move-in but I never got around to it till this summer. I am going to be sharing the steps I used to transform my kitchen cabinets from drab to fab! And what more it costs less than 100 dollars.

Steps to Paint Kitchen Cabinets
Although this is a fairly simple DIY project, there are a few steps to follow to avoid making mistakes. This is a project that will take a few days to up to a week to finish depending. I painted nineteen kitchen cabinets and six pull-out drawers and it took me one week to get all the cabinets done.
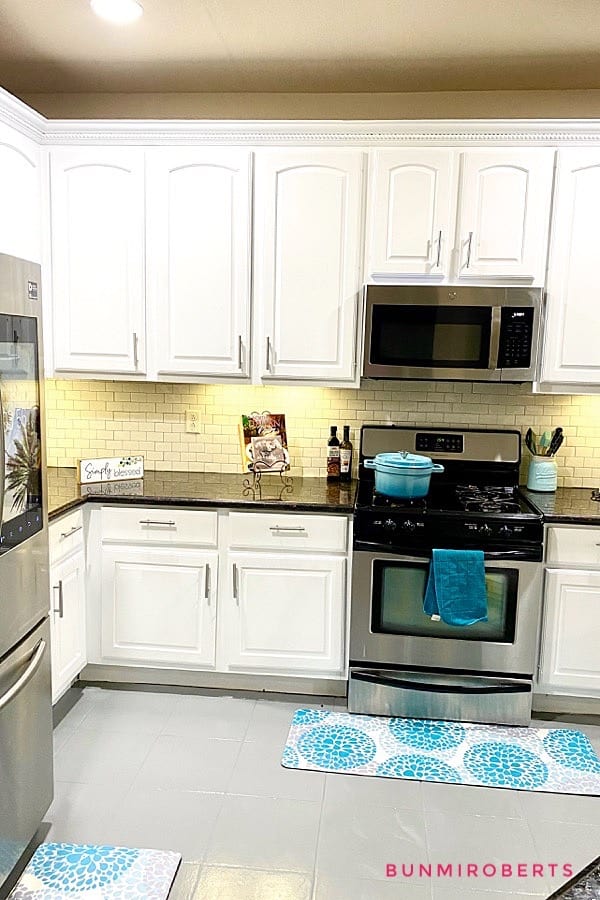
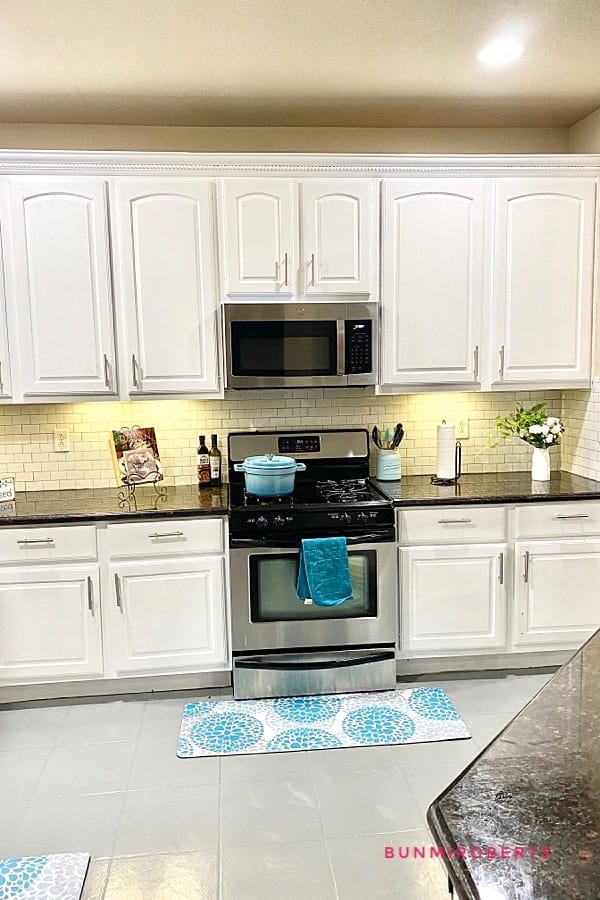
If you are still thinking about why you should paint your kitchen cabinets, this picture of my cabinets before and after will motivate you. Here are the steps on how to paint your kitchen cabinets for a clean and flawless finish.
What color should I paint Kitchen Cabinets
The first step is to agree on a color to paint your kitchen cabinets. I decided to go with white because I like the way white brightens up a small space. After choosing a color, you need to take a trip to your local home improvement store to pick up the paint. I decided to use Lowe’s Valspar Ultra White paint in Satin finish. This paint is an all in one Paint, it is primer + paint product. There are a lot of paint options and some are marketed for kitchen cabinets but Valspar paint worked fine for me. I bought two gallons for my project and I had a lot of paint leftover for quick touch-ups in the future. Some popular colors to paint kitchen cabinets are a white, grey, light blue or vibrant blue.
What supplies do I need to paint Kitchen Cabinets
The supplies you will need apart from paint are brown paper, Painter’s tape, roller with handle, extra rollers, 2-inch brushes, paint bowls, sandpaper and you will also need a TSP degreaser, I used Krud gutter degreaser. You can also get a nose mask to protect against the smell of the paint.
Label the Cabinets and Take them out
It is important to label cabinets to ensure you return each one back to its original location. I decided to paint my kitchen cabinets in phases. I painted the top left before moving on to another section. Although this was time-consuming, It is a fail-proof way to return the cabinets to the correct location without labeling. If you plan to tackle all kitchen cabinets at once, labeling is a must.
How to prepare cabinets for painting
It is important to prepare the surface before painting. Clean all surface to be painted with the TSP cleaner. This will remove all dirt and grease and ensure a clean surface. After cleaning the surface. Allow it to dry for about 30 minutes and use the sanding paper to remove all the gloss from all surfaces. Sandpaper with 150-200 grit will remove the gloss. I used 200 grit for my project. Remove the dust after sanding with a clean rag. Use the painter’s tape to tape the edges and cover all the necessary areas with brown paper. Remove cabinet handles.
How to paint Kitchen cabinets
Here is the fun part, start painting.
First, apply the paint to the surface in the kitchen. Move the cabinets to a work area, it is important to keep the cabinets elevated while painted. Start with the back of the doors. Paint the edges of the cabinet with the brush, this ensures you get the ends that the roller may not get to. Use the roller to paint the back of the door.
Allow each coat of paint to dry for at least 2-3 hours before repeating the process.
For my project, I painted the back of the doors three coat of paint and the front of the doors four coats of paint. I allowed each coat of paint to dry for at least 2 hours before applying a new coat. Paint the cabinet trimmings and other areas four times until you have a clean finish.

Put Cabinets back up
It is important to wait for the paint to dry and cure before putting it back up. Fix the cabinet handles and return the cabinets back to their place according to the label. Be careful when removing the painter’s tape. I used a defacto knife to go over the edges of the painter’s tape because I had paint on it. This will ensure that you don’t peel off the paint from your cabinet while taking off the tape. Remove all the tape. Step back and enjoy all your hard work! Your kitchen cabinets should look beautiful.
Tips & Frequently Asked Questions
Is there a special paint for kitchen cabinets?
Although there are special paints marketed for kitchen cabinets, a latex satin finish paint will work just fine. The important thing is to prep the surface to be painted and if desired, seal with a water-based polycrylic for durability.
How do I seal my cabinets after painting?
To seal your cabinets after painting, use a water-based polycrylic. Apply a layer, allow it to dry and sand it using fine sandpaper. Repeat this process at least two times. Sealing your cabinets makes it more durable. I decided not to seal my cabinets after painting and they are holding up just fine.
Do I need a Primer before painting?
If you are using a paint that does not have primer included. You can use a primer to prepare your surface and to make your paint job easier. I like Kilz Primer.
Is it hard to paint cabinets?
Painting cabinets is not hard but it requires the necessary motivation. It is not a quick DIY project and it requires time, effort, and patience.
What color should I paint my kitchen cabinets?
White is a sure color to make your kitchen pop and brighten your kitchen space. To choose a color, It is important to consider the color of your backsplash, walls, and floor tiles.
MORE DIY POSTS ON THE BLOG
20 things to do when bored at home
If you find this post helpful, rate it, and leave a comment below. I love reading from you.
Subscribe to my newsletter to receive alerts of new posts in your email. Follow me on Facebook and Instagram for the latest updates.
~Bunmi
Leave a Reply